
Hey, hey guys! Do you remember those legit shattered glass nails I made last month? That mani is one of my favorite manicures of the year and it seemed to be very popular on Instagram too! I was asked by a ton of people to create a tutorial on how I made those shattered glass nails, so here it is. :) I wanted to make a video tutorial but I still don't have the time/equipment so you're going to have to settle for a super picture-heavy pictorial. I am warning you! Haha this tutorial has a TON of photos. It's not hard at all but I just really liked taking photos of glitter. ;) No joke. So if you're interested in making your nails look like a broken mirror, keep reading! <3
So as you can see, I did a gold shattered glass mani instead of the traditional silver like I did before. I just wanted to change it up a bit. ;) This is basically a glitter placement mani which you can find a full tutorial on how to place chunky loose glitter onto your nails using this tutorial. I'll show you how but that tutorial has a lot more information than I'm going to show you here. But let's get started!
 Here are all the materials I used for this broken glass mani: OPI Every Month Is Oktoberfest, Seche Clear, gold chunky loose glitter, scissors, and a mechanical pencil.
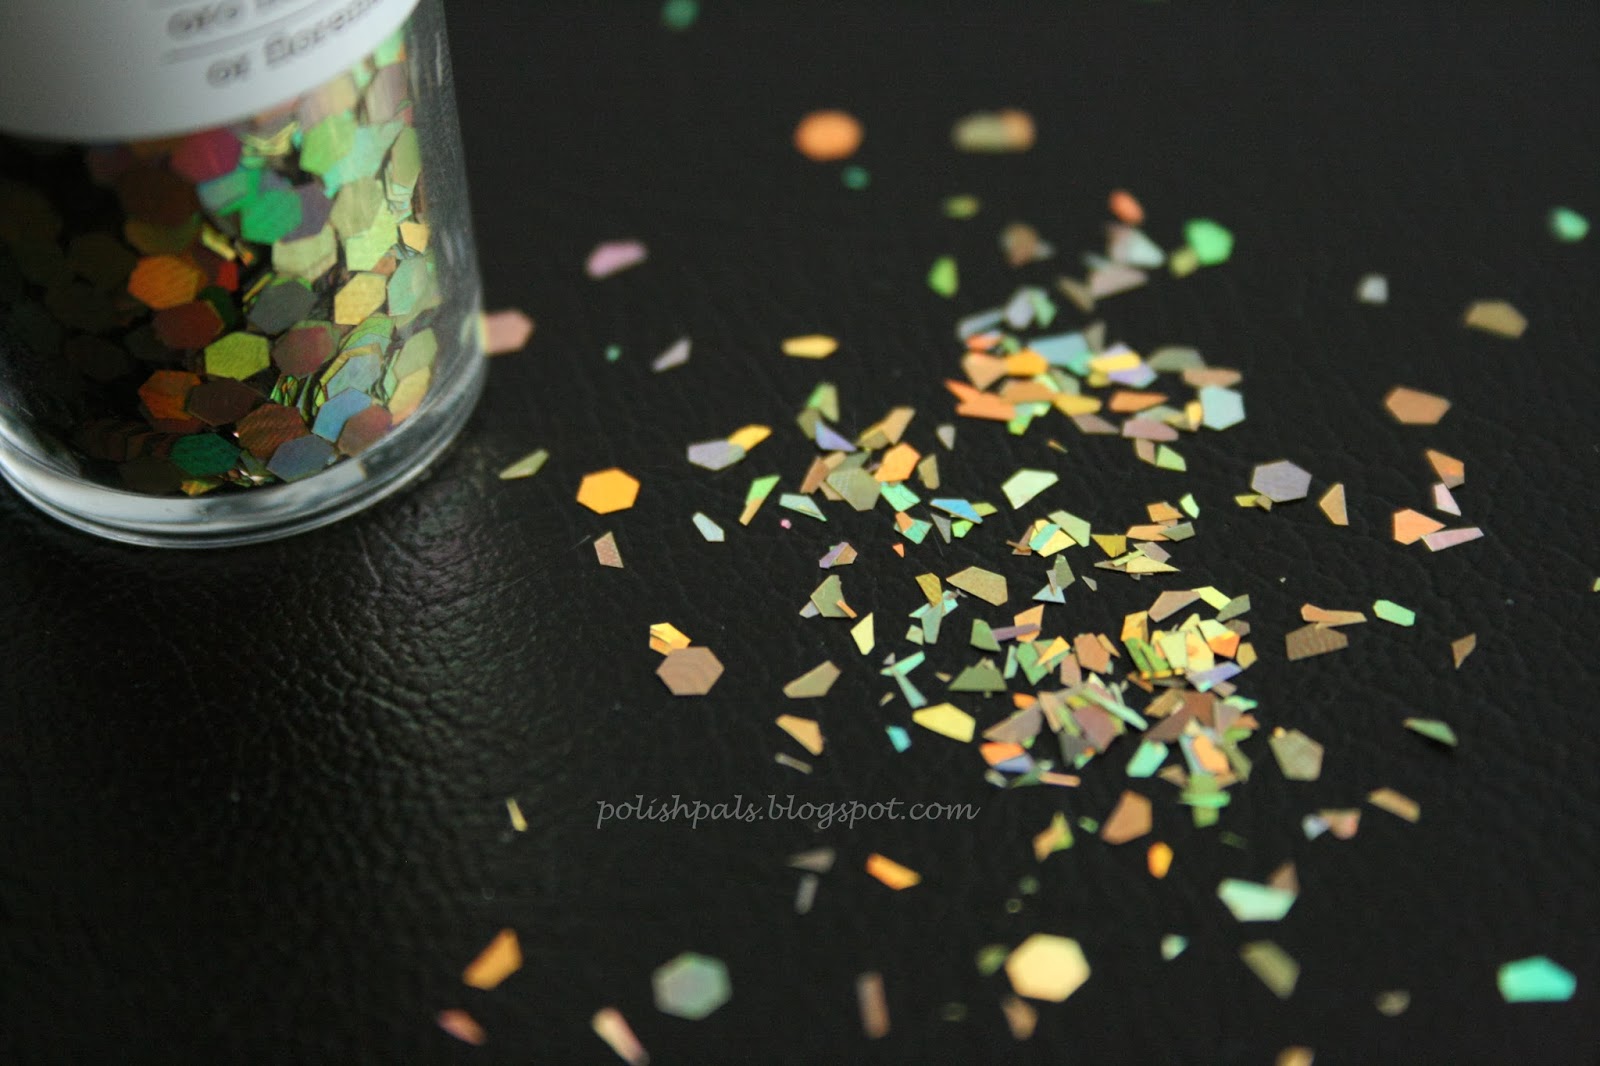
 I wasn't kidding when I told you the reason why they're so many pictures is because they're all of glitter. ;) I had a TON of questions about where I got my glitter -- this is the .3mm hexagon glitter from Martha Stewart that I bought at Michaels. I like using this "large" glitter because you can cut it up easily into shards. It was regular $20 for 12 different colors but I had a 40% off coupon (you can find them online) so I got it for like $12 total!
 Let's actually start this tutorial now: First, I just poured a small amount of loose glitter into my palm.
 Next, I started to cut it randomly with my scissors. The reason why you have a small pile is because you can "randomly" cut into the pile and you're guaranteed some nice shards! I just loved cutting all this glitter up. :) A small pile will make a LOT of shards. Make sure you have a nice variety of glitter sizes that you cut too; I liked having small and large shards.
 Here is what my glitter looked liked after I got done cutting!
 Okay, don't judge me.... ;) Here is one more shot. xD I just put the glitter on a flat surface. I recommend putting it on a piece of paper for easy clean up but I'm going for that "chic" photography look so I just but it on my black piano bench. (Bahahaha, yes.. the back background is my piano bench!)
 Cutting the glitter up was the hard part! Now here is when you start having fun with the glitter placement. Like I said, be sure to check out my glitter placement tutorial for a better explanation but basically stick some clear nail polish onto a piece of paper and get your mechanical pencil ready (toothpick, pencil, bobby pin, etc. just anything you can use to pick up your little glitter shards. I highly recommend a mechanical pencil though).
 Now dip your mechanical pencil into the clear polish, like so.
 Go over to your loose glitter pile and stick your mechanical pencil onto one of your loose glitters. I like to start off with one of your larger shards!
 Kay. Now you're going to literally place that piece of loose glitter onto your nail. I like having a dark base nail polish so the glitter really stands out. (Last time I used black base and silver glitter. Now I'm using a nice vampy red and gold glitter). Obviously, for the glitter to stick ON your nail, your nail has to be either wet OR the bottom of the glitter also has to be wet with nail polish. (My glitter placement tutorial shows you how to dip the glitter back into your clear nail polish but that honestly is too difficult with these small glitters). So instead, I paint my NAIL with clear nail polish to make it wet again. Then, I can directly stick the loose glitter on and it'll stick.
 Am I too confusing? :/ Eeek. It's easier than it sounds, I promise! So keep adding that loose glitter shards onto your nail! You will have to get your mechanical pencil wet again with clear polish and your nail wet again too when the clear polish dries but that's okay.
 See what I mean about having large and small glitter shards? It's just like filling in a puzzle piece!
 Lol, and here is my LAST picture on how my thumb turned out. ;) Once you're all done, apply a clear topcoat to seal in all the glitters. You don't want your glitters falling off!! Surprisingly, this only took me like 3 minutes to do. But I've had a bit of practice! I understand this is a time consuming process so maybe just doing this on your ring finger as an accent nail would be best for the first timers. :)


 And PolishPals' trademark thumb shot! I absolutely love these.
So guys. xD I know you must hate me by now but I did promise you a tutorial. ;) Let me know if you have any questions. I hope I answered most of them for you here! Okay, after this long post I want to go take a nap. xD Do you guys prefer these shattered glass nails with the silver or with the gold? Both are stunning and I honestly can not choose... both are so pretty. xD
Your Polish Pal,
Jenna
 |
| Shattered Glass Nails -- For this tutorial, I used gold! <3 |
So as you can see, I did a gold shattered glass mani instead of the traditional silver like I did before. I just wanted to change it up a bit. ;) This is basically a glitter placement mani which you can find a full tutorial on how to place chunky loose glitter onto your nails using this tutorial. I'll show you how but that tutorial has a lot more information than I'm going to show you here. But let's get started!
Or if you're ambitious like me and have 20 minutes, you can do your entire hand! <3
I absolutely adore Every Month Is Oktoberfest! One of my best nail buddies, Cathy @catsnails on Instagram, sent me this beautiful polish. It's a long story but basically we're both cool and love this color. ;)
I know I'm going overboard with all these photos but I truly love these nails! They're perfect for your future Christmas/New Years parties. :)
GLITTER. GLITTER NAILS. GLITTER EVERYTHING.
So guys. xD I know you must hate me by now but I did promise you a tutorial. ;) Let me know if you have any questions. I hope I answered most of them for you here! Okay, after this long post I want to go take a nap. xD Do you guys prefer these shattered glass nails with the silver or with the gold? Both are stunning and I honestly can not choose... both are so pretty. xD
Your Polish Pal,
Jenna

Great that you made a tutorial for these, they look so cool! I'm definitely going to try this once I find some cool big glitter :)
ReplyDeleteI'm so glad you found the tutorial helpful! And YES. You NEED to find yourself some chunky glitter! ;)
DeleteSooooo cool!! Love the idea and it looks really great!
ReplyDeleteLici
Hi am new to your blog and i love it. This is officially my new fav mani. Can't wait to try it out!
ReplyDelete