
Hello, hello! I finally have my Halloween nails that I promised to show you all yesterday! I've had these on since Sunday and wanted to post them then but I decided I should wait. So today I am starting this post off by showing my classic "thumb shot". (If you take a look at my posts frequently, you'll notice that I love my thumbs and they usually turn out better than the rest of my other nails. xD Hence, the reason why I showcase them is because they're the best!) Ahem. Anyway, I suggest you keep reading if you're interested in creating your own spiderweb nails for Halloween. ;)

So first of all, this is how my entire hand turned out. As you can see, I didn't do all of my spiderwebs in the same direction and I have a dangling spider as an accent! <3

So here is the quick little tutorial on how I did my webs. I used a striper brush and acrylic paint (read FAQ here) for this entire design but you can use a mechanical pencil (or toothpick but I prefer mechanical pencils) dipped into nail polish too. Let's get started!

Obviously this tutorial is pretty self-explanatory but here are the steps:
1. Start off with your base color. I opted for a black background and white cobwebs but you can use virtually any color you want. (E.g. Neon orange and black webs are freaking awesome).
2. Next draw a stripe from one corner of your nail to the other. This should be in the middle of your nail as a guideline because you're going to need 2 more lines!
3. Draw 2 more lines like I did in the 3rd photo where lines are mostly equal in distance apart.
4. Now in between a pair of lines, draw a little curve like a "C" just like I did. See how it looks like a smiley face's smile? :)
5. Continue drawing another little "C" curve between the next pair of lines.
6. And continue yet again with the curves! As you can see, there are now 3 lines but 4 curves connecting them all.
7. Basically repeat steps 4-6 but this time moving up a level. (I don't know how else to explain it... just continue the cobweb!)
8. Keep adding onto your web!
9. Finally!!! When you're done with your web, just add a topcoat to seal in the design and admire your awesome-ness. :)
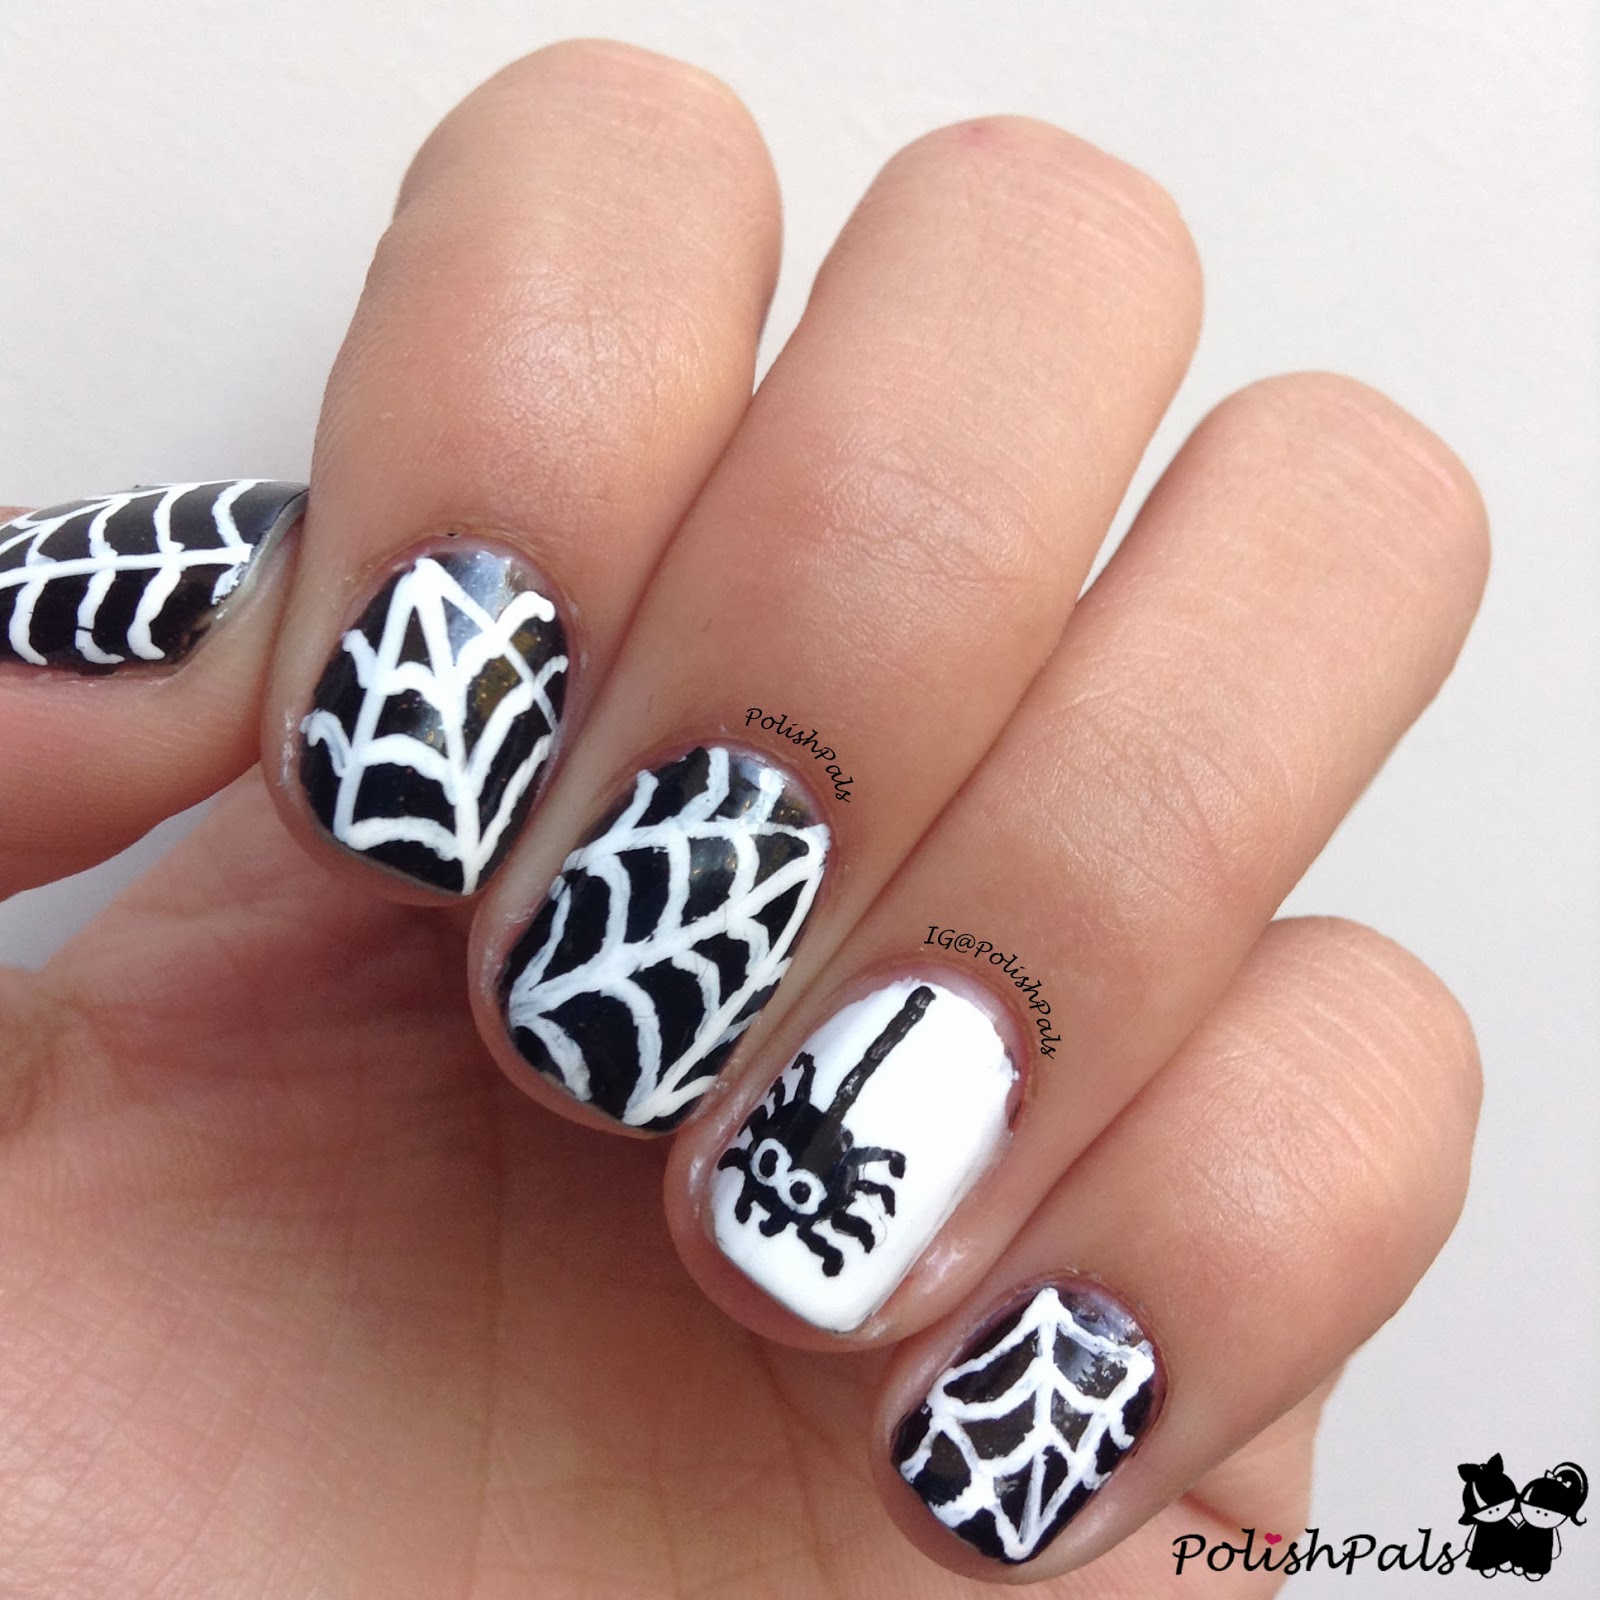
So, if you don't feel very comfortable with all those lines, you could do a spiderweb nail as an accent instead! Do all white nails and then a black cobweb accent like mine. :) Or if you're feeling up to the challenge, let me see your spiders. ;) The only polish I used was Wet n Wild Blackmail (the black polish... obviously hehe) and Wet n Wild Blank Canvas (the white base for the spider).

And here is one last photo of my Halloween mani! Aren't these red leaves as a background super pretty? I took this picture while walking on campus early in the morning (at like 8:20AM) when hardly anyone is out but of course I get caught by some random dude and he just stared at me.... I was leaning over this bush thingy and was getting judged. What the heck?! Just kidding.. I would stare at someone too that was just taking super random pictures of their hands in front of a bush if I wasn't a blogger. xD I felt pretty epic though..
Well, I'm so sorry you guys that I didn't really do many Halloween nails but there is always next year, eh? If I don't talk to you by Thursday, I hope you all have a Happy AND Safe Halloween! <3 Go gorge yourself on tons and tons of candy and yummy snacks!
Your Polish Pal,
Jenna

Oh very nice. LOVE IT!
ReplyDeleteThese are very nice arts I liked it very much but I don't know what gel nail polish brands are there. So it will be little bit helping me if you are giving information on that too.
ReplyDeleteI love how creative and detailed these Spider Web Nails are.
ReplyDelete